Here is one of the best-kept secrets in gardening: you don’t have to keep buying plants. Almost every plant you already own can be turned into more plants — for free, with no special equipment, using a technique that takes about five minutes to learn. It’s called taking cuttings, and once you know how to do it, you’ll never look at a plant the same way again.
This guide covers the basics for complete beginners, the most reliable plants to start with in a UK garden, and the exact steps to follow so your cuttings actually root instead of dying on your windowsill.
What Is a Cutting and Why Does It Work?
A cutting is simply a piece of stem removed from a plant and encouraged to grow its own roots. Plants have the remarkable ability to regenerate from stem tissue — the cut end, when kept in the right conditions, produces root cells and becomes a complete new plant.
It works because plants contain cells called meristematic cells that can develop into any part of the plant — including roots. When you make a cut and provide moisture and warmth, these cells activate and root growth begins.
The Two Types of Cuttings Beginners Should Know
Softwood cuttings — taken from the soft, green, new growth at the tips of stems in spring and early summer. These root fastest (often 2–4 weeks) but need more care and can wilt easily.
Semi-ripe cuttings — taken from slightly firmer stems in mid to late summer, where the base of the cutting has begun to harden. These are more forgiving for beginners and still root reliably within 4–8 weeks.
For most beginners in UK gardens, semi-ripe cuttings taken in July–August are the easiest starting point.
The Best Plants to Start With
Some plants root so reliably from cuttings that they’re almost foolproof for beginners:
- Lavender — Semi-ripe cuttings in August. One established lavender plant can give you 20+ free new plants every year.
- Rosemary — Semi-ripe cuttings in August–September. One plant becomes a hedge for free.
- Hydrangea — Softwood cuttings in June. One of the most satisfying plants to propagate because results are fast and obvious.
- Fuchsia — Softwood cuttings in spring. They root so readily that even a cutting dropped in a glass of water on a windowsill will often root.
- Pelargonium (bedding geranium) — Softwood cuttings in late summer before the first frost. This is how to save your summer bedding plants and overwinter them for free instead of buying new ones every spring — a genuine money-saver for UK gardeners.
💡 UK MONEY TIP: Bedding plants like pelargoniums cost £3–5 each at UK garden centres. Taking cuttings in August and overwintering them indoors means you can have dozens of plants for next summer at zero cost. This is exactly what professional gardeners and allotment holders do.
What You Need
- A clean, sharp knife or scissors — clean is important to prevent disease
- Small pots or a seed tray — filled with cutting compost or a 50/50 mix of multipurpose compost and perlite
- A clear plastic bag or propagator lid — to maintain humidity
- A warm, bright spot — out of direct harsh sunlight
That’s it. No rooting hormone powder is strictly necessary for the plants listed above, though dipping the cut end in hormone rooting powder (widely available in UK garden centres for around £4) does improve success rates.
Step-by-Step: How to Take a Cutting
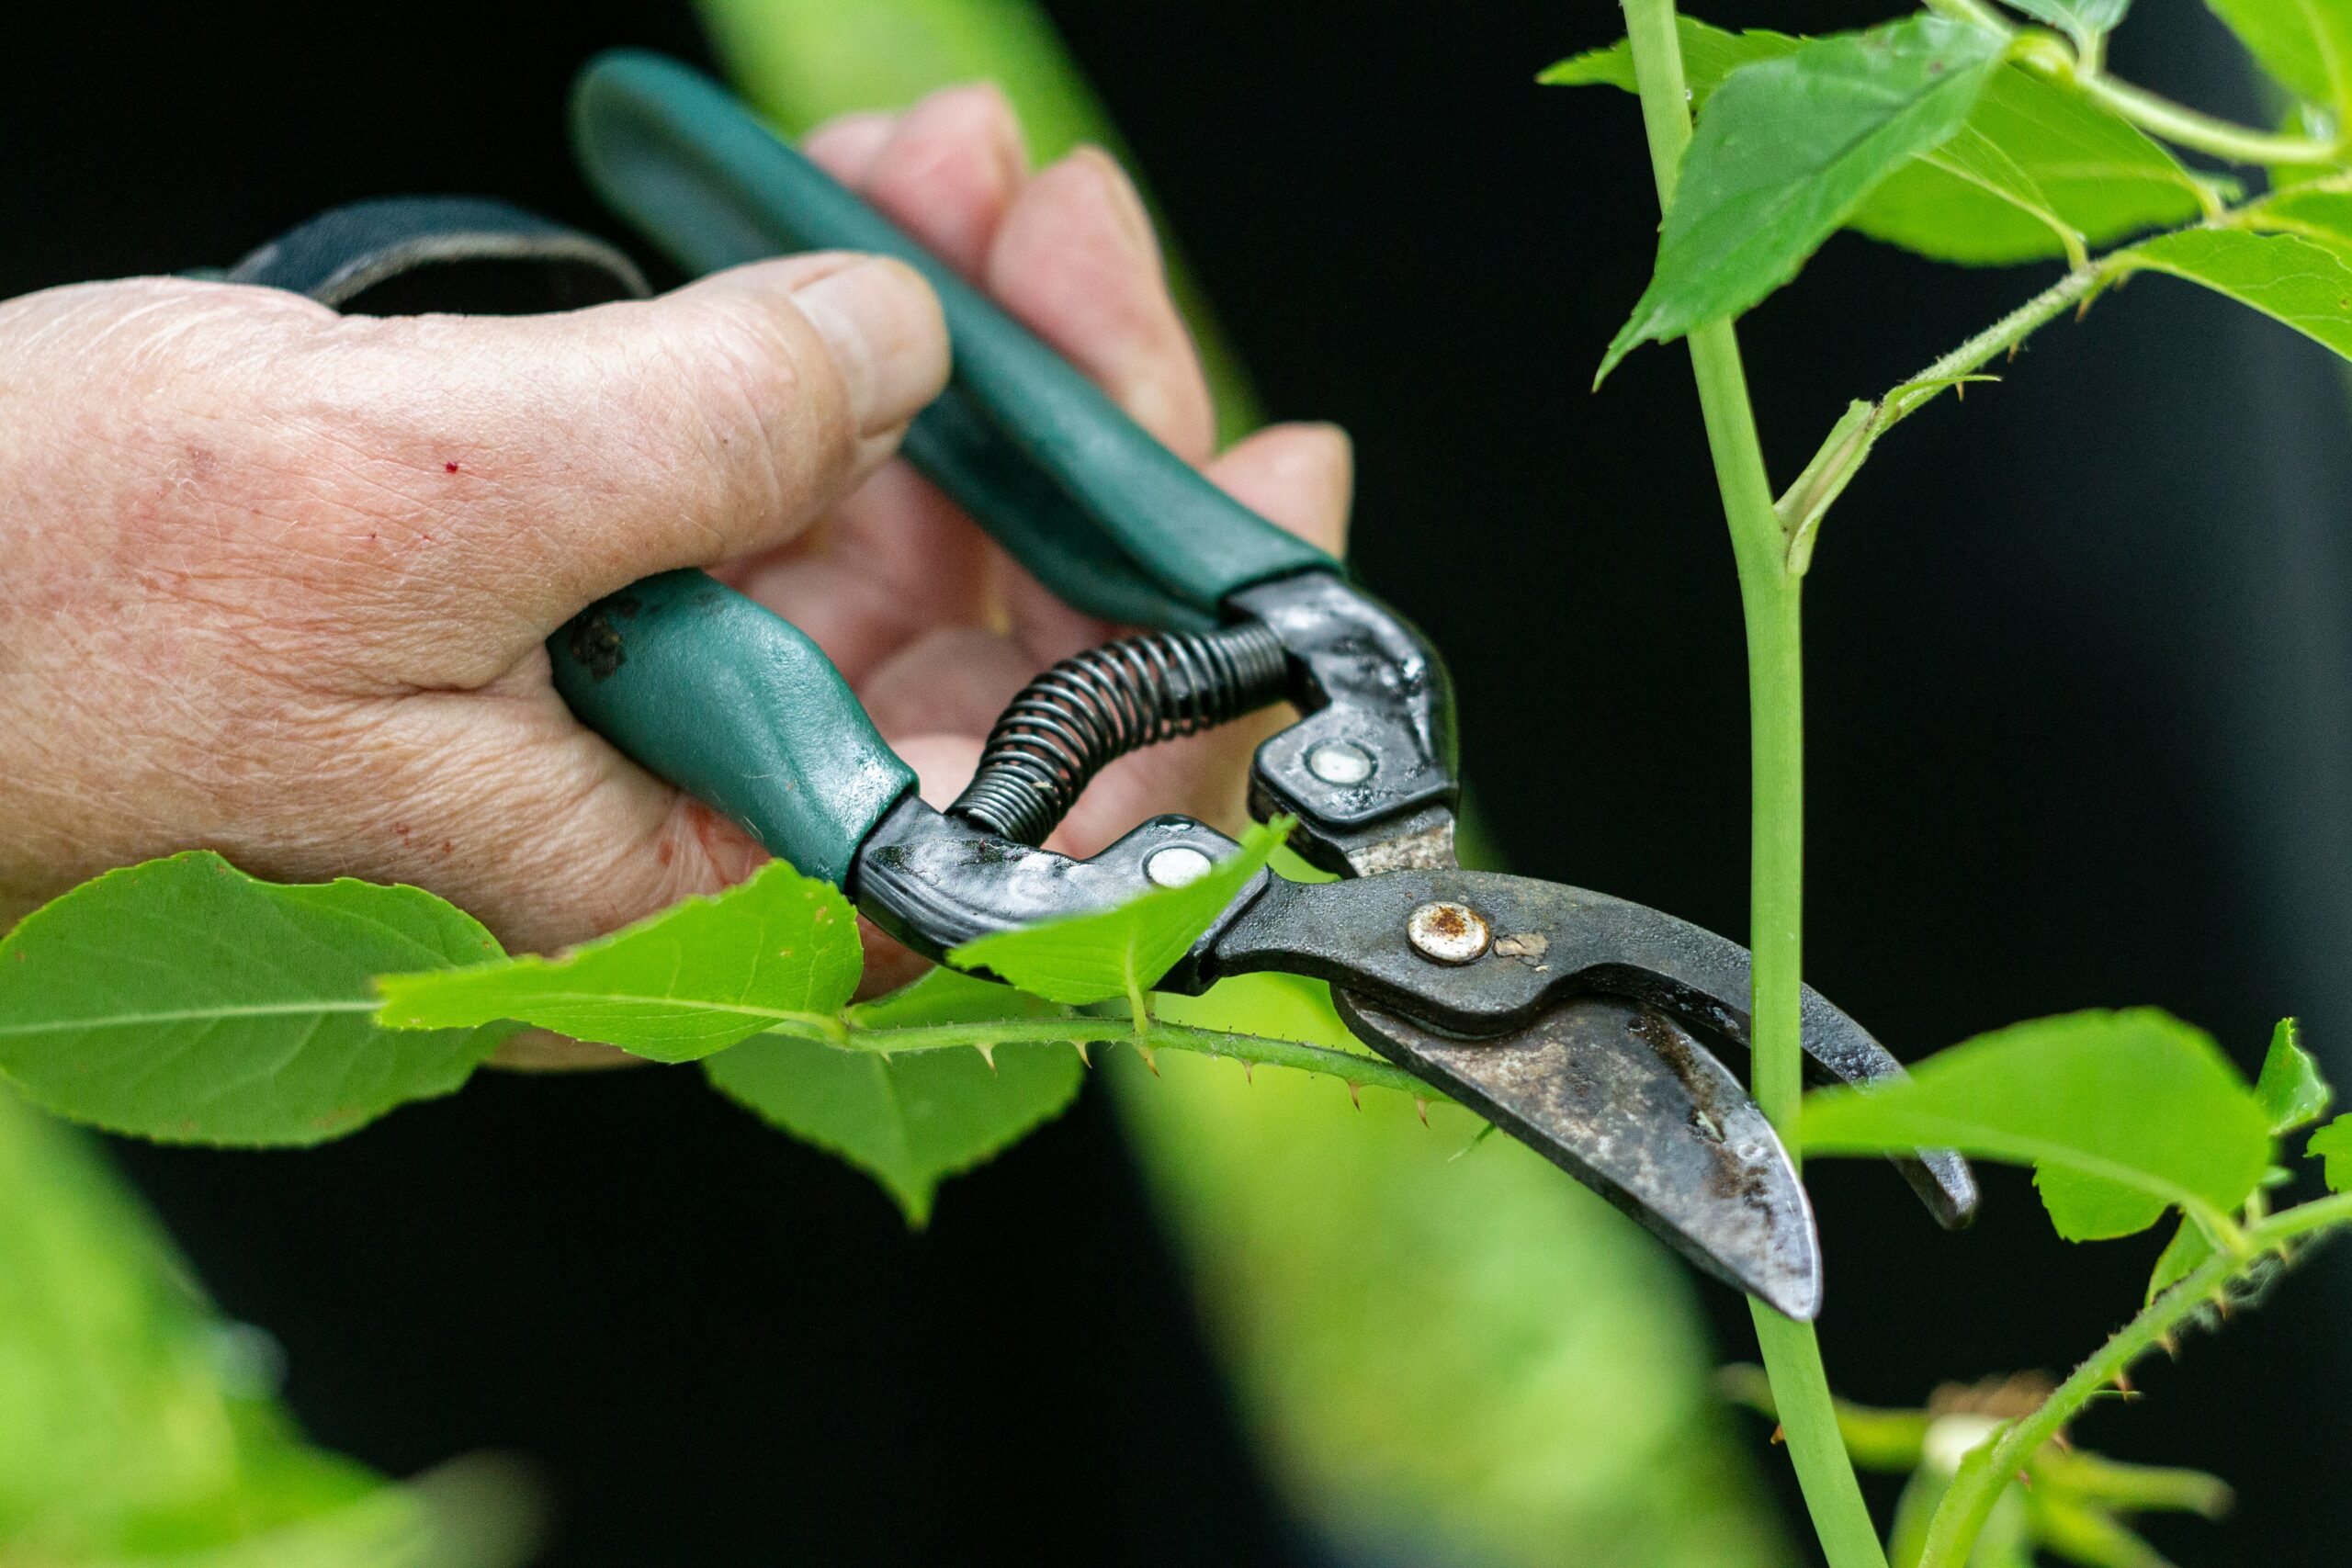
Step 1 — Choose your cutting material Select a healthy stem with no flowers or buds. Flowers use energy the cutting needs for rooting. Look for firm, healthy growth with no signs of disease or pest damage.
Step 2 — Make the cut Cut a piece of stem 8–12cm long. Cut just below a leaf node — the point where a leaf joins the stem. This is where root growth is most likely to occur.
Step 3 — Prepare the cutting Remove all leaves from the bottom two-thirds of the cutting, leaving only 2–3 leaves at the top. Too many leaves cause the cutting to lose water faster than it can absorb it, causing wilting and failure.
Step 4 — Insert into compost Make a small hole in your moist compost with a pencil (don’t push the cutting in directly — you’ll damage the cut end). Insert the cutting so the bottom third is buried. Firm gently around it.
Step 5 — Create humidity Place a clear plastic bag over the pot and secure it with an elastic band. This creates a mini greenhouse that prevents the cutting from drying out before it has roots. Place in a bright spot out of direct sun.
Step 6 — Wait and watch Check every few days. Remove the bag briefly to let fresh air in and check for mould. After 2–4 weeks (softwood) or 4–8 weeks (semi-ripe), give the cutting a very gentle tug. If it resists, roots have formed. If it pulls out easily, it needs more time.
Once rooted, remove the bag, let the plant acclimatise for a few days, then pot on into a larger container.
Common Mistakes and How to Avoid Them
The cutting goes slimy and rots — the compost is too wet. Use more perlite and ensure your pot has drainage holes. Never let cuttings sit in standing water.
The cutting wilts and dies — humidity wasn’t maintained. Make sure your plastic bag is sealed properly. Check daily in hot weather.
Nothing happens after 8 weeks — try fresh cuttings. Some stems are simply not healthy enough to root. Take 3–4 cuttings at once rather than just one — not all of them need to succeed.
💡 FINAL TIP: Label every cutting with the plant name and date using a lolly stick or plant label. It sounds obvious but after 6 weeks of waiting you will have completely forgotten what’s in which pot. Garden centres sell 50 plant labels for under £2 — worth every penny.
Leave a Reply