Garden paths are one of those features that make an immediate, visible difference to how a garden looks and works — and yet they’re often the last thing people get around to. Garden paths don’t just look good; they solve real problems. They stop you churning up a lawn every time you cross the garden. They keep your feet dry from October to March. They give structure to a planting scheme that might otherwise feel shapeless. And done well, they can transform an ordinary outdoor space into something that genuinely feels designed.
The good news is that you don’t need a large budget or professional landscaping skills to lay a decent path. From a simple gravel track you can put down in a weekend to a formal paved surface that lasts decades, there’s a solution for every garden, every budget, and every level of DIY confidence.
Before You Start: The Golden Rule of Path Placement
The single most important decision about any garden path is where it goes — and the answer is almost always: follow where people already walk. Every garden has desire lines, the routes people instinctively take across the space. If you lay a path that fights against those natural routes, people will ignore it and cut across the grass anyway.
Before marking out your path, spend a few days noticing where you and your family actually walk. From the back door to the shed, across to the compost heap, along the border to deadhead — those worn patches of lawn or muddy tracks through the border are telling you exactly where your path needs to be.
Width matters too. A functional working path — from a gate to a shed, for example — needs to be at least 60cm wide for comfortable single-file use. A main path through a garden, where two people might walk side by side or you’ll be pushing a wheelbarrow, should be 90cm to 1.2 metres. Don’t be tempted to make paths too narrow to save material — a stingy path looks mean and is frustrating to use.
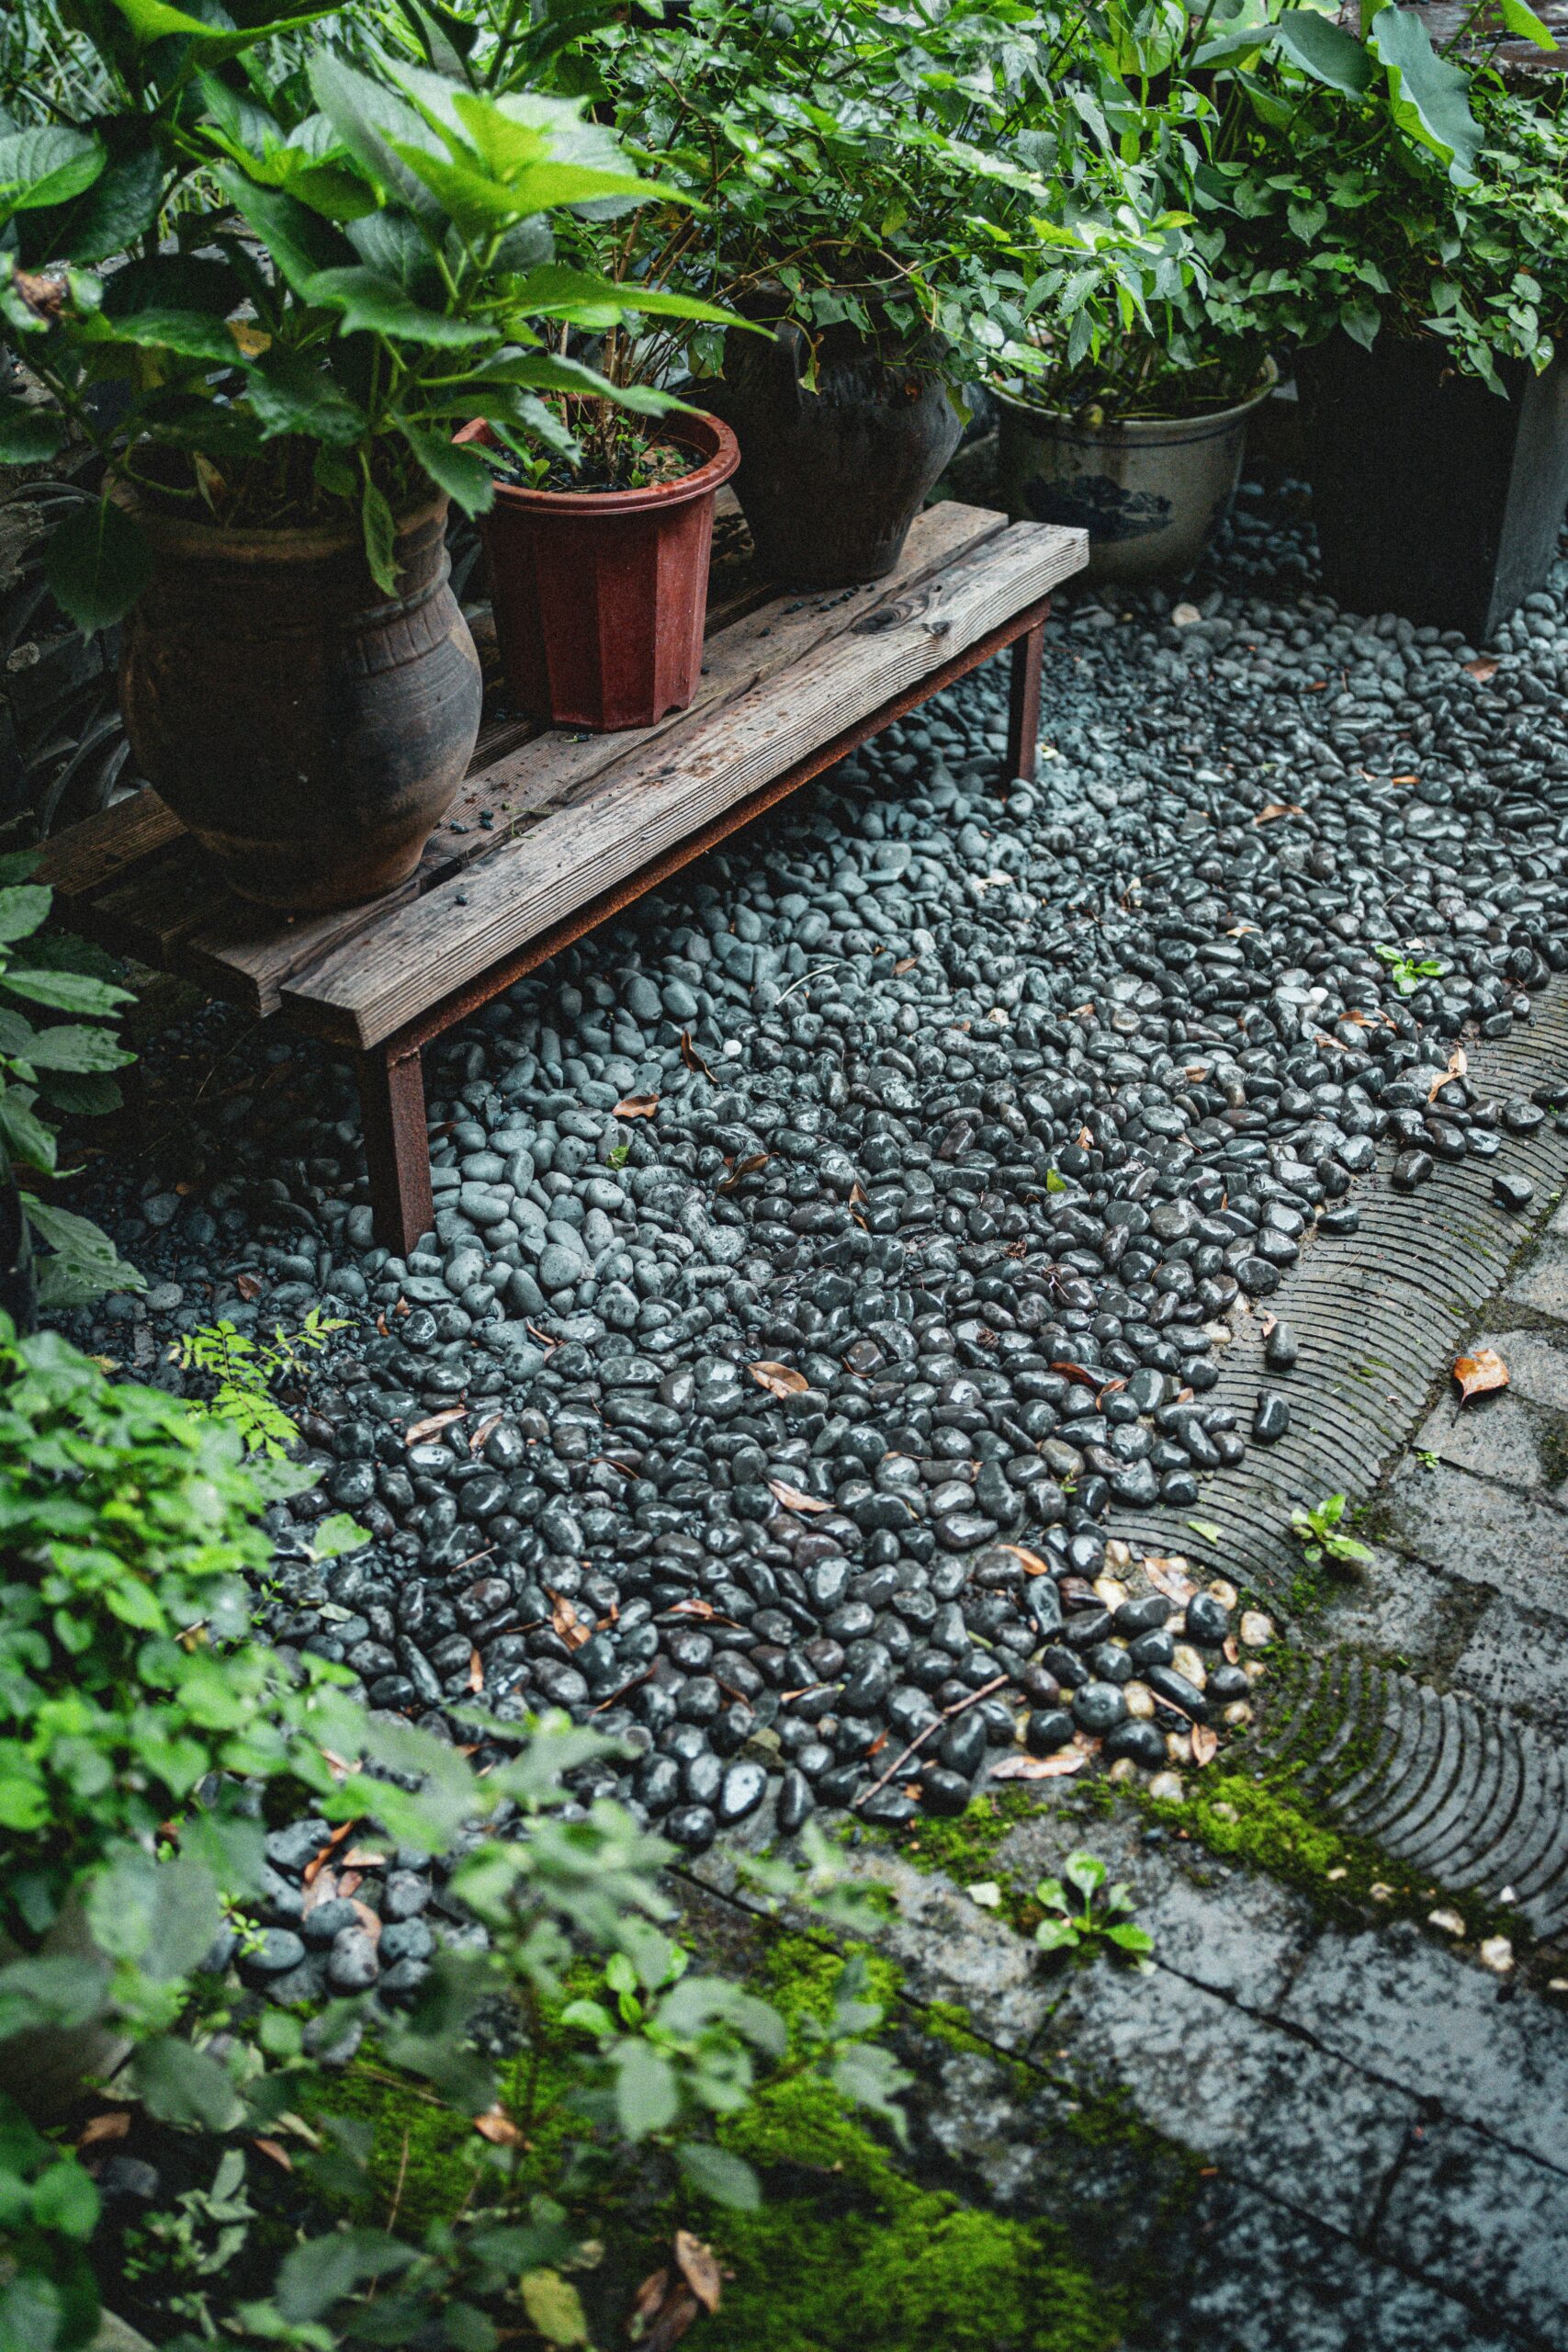
Option 1: Gravel — The Most Budget-Friendly Choice
Gravel is the easiest and most affordable path surface for most UK gardens. It’s available from every builders’ merchant and garden centre, it drains freely (important in our wet climate), it deters slugs, and it gives a satisfying crunch underfoot that many people love.
Cost: Roughly £3–£8 per 25kg bag for decorative gravel from a garden centre. Buying in bulk (dumpy bags of 850kg) from a builders’ merchant brings the cost down dramatically — often to £50–£80 per bag, which covers a significant area.
How to lay it: Excavate the path area to about 10cm depth. Lay a membrane of woven landscape fabric (not the cheap plastic sheet type, which tears and doesn’t breathe) to suppress weeds. Install timber, metal, or brick edging to contain the gravel. Then pour in gravel to a depth of about 5–7cm and rake level.
The edging is essential — without it, gravel migrates onto beds and lawn within a season and becomes a nuisance. Timber battens pinned with wooden stakes are the cheapest edging option and work perfectly well. Galvanised metal edging looks cleaner and more permanent but costs more.
Best gravel types for UK gardens: Pea gravel (small, rounded, comfortable underfoot) is the most popular for ornamental paths. Crushed slate gives a darker, more contemporary look. Golden gravel warms up shadier spaces. For a path that actually compacts down and becomes firm to walk on, self-binding gravel — a mix of fine aggregate and clay — is worth considering; it sets almost like a soft tarmac surface and is much more stable than loose gravel.
Drawbacks: Gravel can be uncomfortable to walk on in bare feet. It’s not suitable for slopes without additional measures to prevent it washing away. And it does require occasional raking and topping up.
📖 Also read: How to Build a Raised Bed Garden from Scratch
Option 2: Stepping Stones — Simple, Cheap, and Flexible
For an informal garden or a lightly used path across a lawn, stepping stones are a beautifully simple solution. They’re quick to lay, easy to adjust, and significantly cheaper than a full paved surface.
Cost: Varies hugely. Basic concrete paving slabs from a DIY store start at around £2–£5 each. Natural stone stepping stones — York stone, sandstone, slate — cost considerably more but look far better and last indefinitely. Reclaimed stone from salvage yards is often a good middle ground on both price and aesthetics.
How to lay them: Place the stones on the lawn or path surface first and walk across them to check the spacing feels natural — stride length varies from person to person and the stones need to feel effortless to use. Once you’re happy with the spacing, lift each stone, cut around it with a spade, remove the turf, and bed the stone onto a layer of sharp sand so it sits just below the level of the surrounding lawn (so a mower can pass over without hitting it). Check each stone is level and stable before moving on.
In a bed or border rather than a lawn, bed stepping stones onto a layer of compacted hardcore and sand for stability.
Option 3: Bark Chippings — Natural and Low Cost
Bark chippings work brilliantly as a path surface in wilder, woodland-style gardens or through a kitchen garden. They’re soft underfoot, look natural, suppress weeds well, and are among the cheapest path materials available.
Cost: Bark chippings are inexpensive — often free or very cheap from tree surgeons who need to dispose of them. Garden centre bags are more expensive; buying a dumpy bag direct from a supplier is much better value.
How to lay them: As with gravel, excavate to about 10cm, lay landscape fabric, install edging, and apply bark to a depth of 7–10cm. Bark compresses over time and will need topping up every year or two as it decomposes — but as it breaks down it also improves the soil beneath, which is a bonus.
Drawback: Bark paths don’t work well in high-traffic or formal areas. They can become slippery when wet if the wrong type is used — choose a coarser, chunky bark rather than fine decorative bark for path surfaces.
Option 4: Paving Slabs — The Classic UK Garden Path
For a main path, a patio approach, or anywhere that gets heavy use, paving slabs are the most practical long-term solution. Properly laid, a paved path requires almost no maintenance and will last for decades.
Cost: This is where the range is widest. Basic concrete slabs from a DIY store can be as little as £10–£15 per square metre. Porcelain pavers — now enormously popular in UK gardens — cost £30–£60 per square metre but look very smart and are almost maintenance-free. Natural sandstone is in the £25–£50 range and has a warmth that concrete can’t quite replicate. Reclaimed York stone is beautiful and characterful but can be expensive and hard to source in consistent sizes.
How to lay them: Paving slabs need a proper base to stay level and stable — this is where many DIY jobs go wrong. Excavate to at least 15cm depth. Lay a 10cm layer of compacted hardcore (MOT Type 1 from a builders’ merchant). Add a 3–5cm layer of sharp sand or a dry mix of sand and cement, then lay slabs on top, tapping level with a rubber mallet. Leave joints of at least 8–10mm (wider for natural stone) and brush in dry mortar or kiln-dried sand to fill them once the surface is complete.
For a front path or anywhere with vehicular access, the base preparation needs to be more substantial — speak to a local landscaper or check the RHS guidance on laying garden paths and hard surfaces before tackling a larger project.
📖 Also read: How to Plan Your Garden Before You Spend a Single Penny
Option 5: Reclaimed and Repurposed Materials
Some of the most characterful garden paths in the UK are made from reclaimed materials — salvaged brick, old railway sleepers, reclaimed stone cobbles, or even sections of old millstone. Salvage yards, online marketplaces, and local demolition sites are all worth checking.
Reclaimed brick makes a beautiful path surface and is surprisingly affordable if you source it locally. Old house bricks laid in a herringbone or running bond pattern give a traditional cottage garden feel that’s very hard to replicate with modern materials. Lay them on a compacted sand base with the flat face upward.
Railway sleepers work well as path edging or as stepping elements in an informal garden. They’re heavy and durable, and the weathered wood looks instantly at home in a naturalistic planting scheme. Be aware that very old sleepers may have been treated with creosote, which is no longer recommended near edible crops.
Log rounds — cross-sections of tree trunks — are a popular choice for woodland-style gardens and children’s gardens. They’re free if you have a suitable tree taken down, look charming, and are easy to install. The drawback is that they rot over time and can become slippery when wet; treat them with an outdoor wood preservative and add a layer of fine horticultural grit to the surface to improve grip.
Edging Makes or Breaks a Path
Whatever material you choose for the surface, the edging defines the path and keeps it looking intentional rather than accidental. Options include:
Timber battens are the cheapest and easiest — pressure-treated timber pegged with wooden stakes works well and lasts several years. Metal edging (galvanised or powder-coated steel) gives a cleaner, more contemporary look and is almost permanent. Brick soldiers — bricks set on end along the path edge — look traditional and work beautifully with both gravel and paved paths. And for an informal look, simply allowing low-growing plants like thyme, creeping Jenny, or Alchemilla mollis to spill gently over the path edge creates a soft, romantic effect that no hard edging can match.
📖 Also read: How to Layer Plants in a Border
A Few Final Practical Points
Drainage: UK gardens get a lot of rain. Any path surface needs to either drain freely (gravel, bark) or be laid with a slight cross-fall of 1:60 so water runs off to the side rather than pooling. Porcelain and smooth stone can become dangerously slippery when wet — choose a textured or brushed finish for path surfaces rather than a polished one.
Weed control: Whatever surface you use, weeds will eventually find their way through unless you’ve laid landscape fabric beneath. Even with fabric, annual weeds can germinate in the gaps between slabs or in the gravel surface. A seasonal pass with a patio weeder or a careful spray of path weedkiller (avoiding nearby border plants) keeps things tidy without much effort.
Lighting: A simple solar path light on either side of a main garden path makes it usable and safe in the evenings from September onwards — and adds a lovely atmosphere at dusk that costs almost nothing to run.
📖 Also read: Vertical Gardening in the UK
Leave a Reply