How to grow peas in the UK is one of those topics that comes with a near-universal warning from experienced growers: once you’ve eaten a pea straight from the pod, still warm from the sun, you will never again be satisfied with anything from a supermarket bag. How to grow peas in the UK is also one of the most genuinely rewarding beginner projects in the kitchen garden — peas are fast, productive, and the process of shelling them on a summer evening is one of the quiet pleasures of the growing year.
The sugars in a freshly picked pea begin converting to starch almost immediately after harvest. By the time a supermarket pea has been picked, transported, chilled, packaged, shipped, and displayed, that process is well advanced. The flavour gap between home-grown and shop-bought is larger for peas than almost any other vegetable, and it’s reason enough on its own to grow them.
Types of Peas Worth Growing
Understanding the different types of peas available helps you choose what suits your garden and your kitchen.
Shelling peas are the classic — you grow them for the seeds inside the pod, which you shell out before eating. These are what most people mean when they say “garden peas”. They range from dwarf varieties reaching 60cm to tall maincrop types growing to 1.5 metres or more. The flavour of freshly shelled peas cooked simply — a few minutes in boiling salted water with a sprig of mint — is one of the great tastes of the British summer.
Mangetout (also called snow peas) are eaten whole, pod and all, when the pod is flat and the peas inside are barely visible. They’re harvested earlier than shelling peas, need less time to prepare (no shelling), and are excellent stir-fried or eaten raw in salads. ‘Oregon Sugar Pod’ and ‘Mammoth Melting Sugar’ are reliable UK varieties.
Sugar snap peas are the best of both worlds — thick, fleshy pods that are sweet enough to eat whole, but you can also shell them when fully mature. ‘Sugar Ann’ and ‘Cascadia’ are popular UK varieties. Sugar snaps are arguably the most satisfying type for a small garden because every part of the plant is edible and the yield feels more generous.
Petit pois are small-seeded varieties with an intensely sweet flavour — the kind you get in good French cooking. ‘Waverex’ is the classic UK variety. They need shelling like standard garden peas but the seeds are smaller and sweeter.
When to Sow Peas in the UK
Peas are a cool-season crop — they germinate and grow best in cool, moist conditions and don’t enjoy the heat of high summer. In the UK this means sowing from late February through to June, with the main harvest window running from June to August.
Late February to March: Sow under cover — in a cold greenhouse, cold frame, or on a cool windowsill — for the earliest possible outdoor plants. Peas are hardy enough to tolerate light frost as young plants and can be planted out from April. These early sowings give you a June harvest.
April to May: The main sowing window for direct outdoor sowing. Soil temperature needs to be at least 10°C for reliable germination — a soil thermometer is useful but not essential. Sow directly where they’re to grow from mid-April onwards in most parts of England and Wales; later in Scotland and northern England.
June: A late sowing made in early June will give you an autumn harvest in September and October — useful for extending the season after the main crop finishes. Choose a quick-maturing variety like ‘Meteor’ or ‘Feltham First’ for late sowings.
Avoid sowing in high summer — peas sown in July struggle in the heat and are more prone to disease.
📖 Also read: How to Grow Broad Beans in the UK
How to Sow Peas
Direct sowing: Peas are large seeds and sow easily direct into the ground. Make a flat-bottomed trench about 5cm deep and 15–20cm wide using the corner of a hoe or a trowel, and space seeds about 5–7cm apart in two or three rows across the width of the trench. Cover with soil and water in. This flat-trench method creates a double or triple row that makes supporting the plants easier later.
Sowing in guttering (the classic method): Many UK gardeners sow peas in a length of old plastic guttering filled with compost, kept on a greenhouse bench or windowsill. Once the seedlings are 5–8cm tall, you slide the whole rootball out of the guttering directly into a prepared trench outdoors — the roots are barely disturbed and the plants establish immediately. This is a neat way to get a head start while protecting seeds from mice and cold weather.
Module sowing: Sow two or three seeds per large module cell. Pot on if necessary and plant out when 8–10cm tall. Useful if slugs or mice are a problem with direct-sown seeds.
Mouse protection: Mice love pea seeds and will dig up a whole row overnight. If you have a mouse problem, covering the row with fleece or wire mesh for the first two weeks after sowing is essential.
Supporting Peas
Most peas need support — they climb by wrapping tendrils around anything they can reach. Providing the right support early (before the plants need it, not after they’ve flopped) makes a huge difference.
Pea sticks — twiggy branches from hazel, birch, or any woody plant — are the traditional and best solution. Push them in along both sides of the row as soon as seedlings emerge, and the plants will find and grip them naturally. The result looks beautiful and completely natural in the kitchen garden.
Pea netting stretched between canes works well for longer rows. Use 1.2–1.5m height netting for most varieties, taller for maincrop types.
Chicken wire fixed to a simple frame of bamboo canes is very effective and can be reused for years.
Dwarf varieties like ‘Feltham First’ (45cm) and ‘Half Pint’ need very little support — a few short twiggy sticks pushed in around them is usually enough.
Caring for Peas
Watering: Peas need consistent moisture, particularly when flowering and when pods are filling. A dry spell at either of these stages significantly reduces yield. At other times they’re reasonably drought-tolerant. Water at the base rather than overhead.
Feeding: Peas are nitrogen-fixing legumes — like broad beans, they make their own nitrogen from the air. They don’t need nitrogen fertiliser. A dressing of general fertiliser before sowing is sufficient; beyond that, leave them alone.
Mulching: A mulch of compost or straw around the base helps retain moisture and suppress weeds without the need for hoeing (which can damage shallow pea roots).
Weeding: Keep the area around young pea plants weed-free — peas don’t compete well with weeds when small. Once established and growing strongly, they shade out most weeds themselves.
Pests and Problems
Mice are the most damaging pest at the seed stage — see the note above about protection.
Pea moth is a significant pest in the UK — the small caterpillars burrow into pea pods and eat the developing seeds, which you only discover when shelling. The adult moth lays eggs on flowering peas from June to August. The best protection is to cover flowering plants with fine insect mesh. Alternatively, sowing early (March/April harvest by June) or late (June, harvest September) takes the crop outside the main egg-laying window.
Pea and bean weevil creates characteristic U-shaped notches around leaf edges. It looks alarming but rarely causes serious damage to established plants — young seedlings are more vulnerable.
Powdery mildew is common on peas from midsummer onwards, especially in dry conditions. It shows as a white powdery coating on leaves and stems. Choose mildew-resistant varieties for late sowings, water regularly, and remove badly affected growth. A late-season attack rarely affects yield significantly.
Slugs can devastate young seedlings. Protection for the first few weeks after planting out is important — copper tape around raised bed edges, nightly handpicking, or wool pellets.
The RHS has detailed guidance on growing peas including full pest identification and variety recommendations.
📖 Also read: How to Get Rid of Aphids Naturally
Harvesting Peas
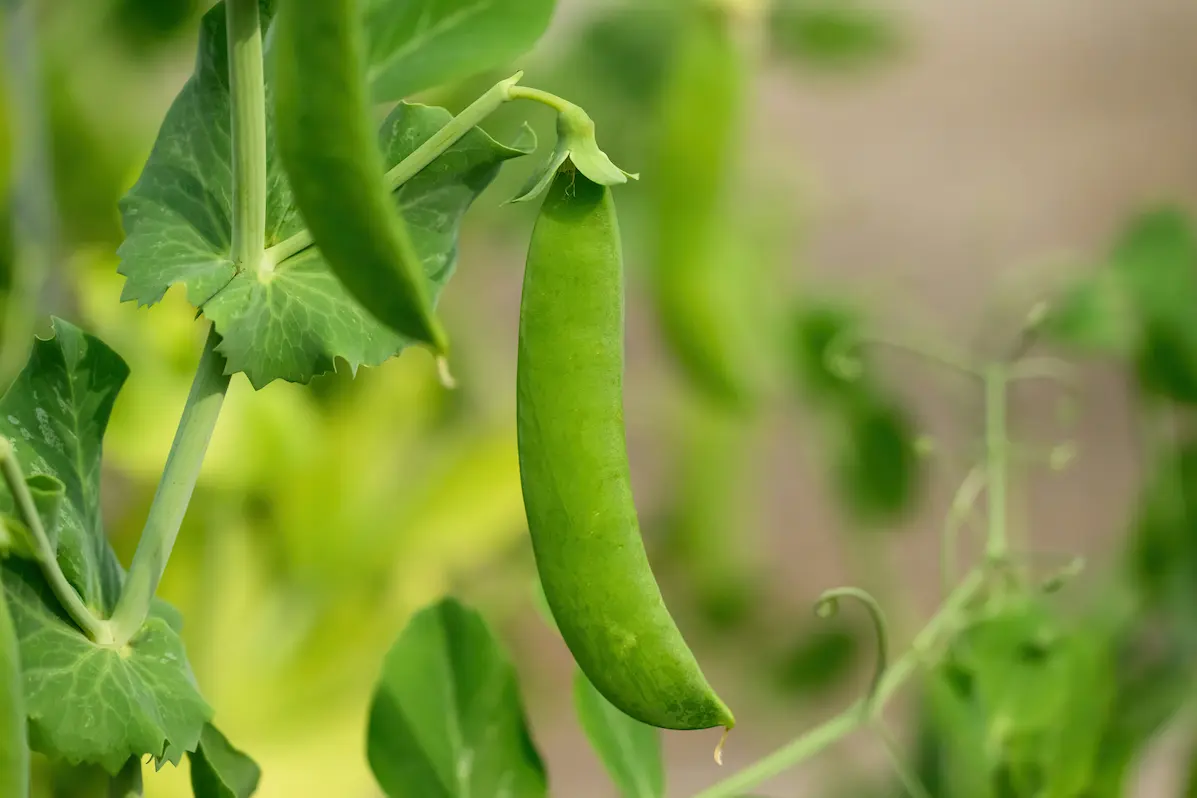
Shelling peas are ready when the pods are well-filled and feel plump when you run your fingers along them. Pick from the bottom of the plant upward — lower pods mature first. Don’t wait too long — overmature peas are starchy and disappointing. When in doubt, pick earlier rather than later. Once you start picking, check every two to three days — peas mature quickly in warm weather.
Mangetout should be picked when the pods are flat and the pea seeds inside are just barely visible as small bumps. If you can see well-defined peas pressing against the pod wall, you’ve waited too long — though they’re still perfectly edible.
Sugar snaps can be harvested at almost any stage — small and flat for delicate sweetness, or fully filled for a more substantial pod. They’re very forgiving on timing.
The key principle for all peas: the more you pick, the more the plant produces. Regular harvesting prevents the plant setting seed and keeps it producing new pods. A pea plant that’s left unharvested for a week in warm weather will slow down dramatically.
📖 Also read: How to Grow Runner Beans in the UK
After the Harvest
Once pea plants have finished cropping — usually by August — cut the tops off at ground level rather than pulling out the whole plant. The roots contain nitrogen-fixing nodules and are best left to break down in the soil. The tops can go on the compost heap.
The bed is now ready for a follow-on crop — leeks, kale, or winter brassicas are all excellent choices, as they benefit from the nitrogen left behind by the pea roots.
Save Your Own Seed
Peas are one of the easiest vegetables for seed saving. Leave a few pods on the plant to mature and dry completely — they’ll turn yellow-brown and rattle when you shake them. Shell them out, dry for a further two weeks in a warm room, and store in a paper envelope in a cool, dry place. Home-saved pea seed stores well for two to three years and costs nothing.
For seed saving, choose your best-performing plants — the ones that were most productive, most disease-resistant, and produced the best-flavoured peas. Over several generations of saving, you’ll gradually develop a strain that’s adapted to your specific garden conditions.
Leave a Reply