How to improve clay soil is the question that occupies more British gardeners than almost any other. How to improve clay soil is not a quick fix — anyone who tells you otherwise is selling something — but it is absolutely achievable, and the results of getting it right are dramatic. Clay soil that has been consistently improved over two or three seasons transforms from a waterlogged, boot-sucking winter slab into one of the most fertile and productive growing mediums available. The work is worth it.
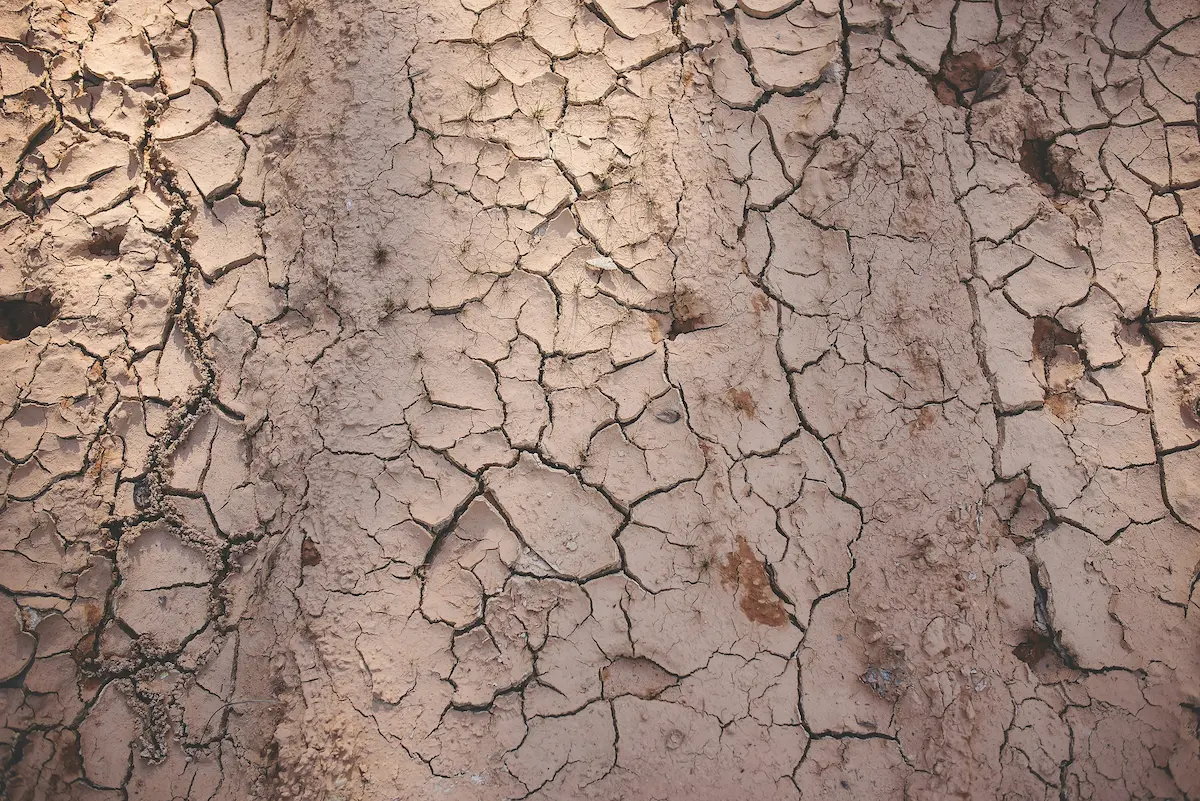
Clay is one of the most common soil types in the UK. Large parts of the Midlands, the Thames Valley, much of the south-east, and swathes of northern England sit on heavy clay subsoil. If your spade comes up with sticky, grey-brown clods that smear rather than crumble, if your garden floods after rain and then cracks into hard plates in dry summers, if your boots need scraping every time you cross the lawn from October to March — you have clay soil.
Why Clay Soil Isn’t All Bad
Before getting into the fixes, it’s worth understanding why clay soil is worth improving rather than giving up on. Clay gets a bad reputation, but it has real virtues that lighter sandy soils lack entirely.
Clay particles are tiny — much smaller than sand or silt particles — and this gives clay soil an enormous surface area that holds nutrients exceptionally well. Clay soils are naturally fertile. They hold moisture through dry spells better than any other soil type. And once improved, they grow the most magnificent plants — roses, dahlias, and vegetables like runner beans absolutely thrive in well-managed clay.
The problem isn’t the clay itself; it’s the structure. Unimproved clay has very little pore space — the gaps between particles that allow air and water to move freely. When those gaps are absent, roots can’t penetrate easily, water sits on the surface, and the soil alternates between waterlogged and rock-hard depending on the season.
The entire project of improving clay soil is about creating and maintaining those pore spaces — opening up the structure so air, water, and roots can all move through it freely.
📖 Also read: The Simple Soil Guide Every UK Gardener Needs
The One Thing That Actually Works: Organic Matter
If there’s a single answer to how to improve clay soil, it’s this: add organic matter, consistently, year after year. Everything else is secondary.
Organic matter — compost, well-rotted manure, leafmould, green waste — works by separating clay particles and creating aggregates: small clumps of particles bound together by fungal threads and organic compounds, with pore spaces between them. This is what gives improved clay soil its characteristic crumbly, workable texture.
The quantities required are larger than most people expect. A single barrowload of compost spread thinly over a large bed makes almost no difference. What makes a difference is a generous 5–10cm layer applied across the whole bed surface every autumn and allowed to be worked in by worms over winter. In the first year you may see modest improvement. By year three, the transformation can be remarkable.
What to use:
- Home-made compost is the best and cheapest option. If you don’t have a compost heap, starting one now is the single best investment you can make in your garden’s long-term productivity.
- Well-rotted farmyard manure is excellent — rich, bulky, and very effective at opening up clay. Buy it in dumpy bags from local stables or farmers, or from garden centres. It must be well-rotted (dark, crumbly, no smell of ammonia) — fresh manure can burn roots and adds too much nitrogen.
- Leafmould — rotted autumn leaves — is superb for clay improvement and costs nothing if you collect your own. It takes a year to rot down but the resulting material is excellent.
- Green waste compost from local council composting schemes is often available cheaply or free and works well.
- Mushroom compost is widely available and effective, but it’s alkaline — avoid using large quantities if your soil is already at the higher end of the pH range, and don’t use it around acid-loving plants.
📖 Also read: How to Make Compost in the UK
What About Grit and Sand?
The idea of adding horticultural grit or sharp sand to clay soil is well-established in gardening advice — but it comes with an important caveat that’s often left out.
Grit does work, but the quantity required to make a meaningful difference is much larger than most people realise. Adding a small amount of grit to heavy clay can actually make things worse — creating a concrete-like mix that drains even less freely than the original clay. To genuinely improve drainage, you need at least two to three bucketfuls of coarse horticultural grit per square metre, worked into the top 30cm.
The grit must be horticultural grit or coarse sharp grit — not builder’s sand, which has the wrong particle size and can compact clay further. And it must be worked in thoroughly, not just scattered on the surface.
In practice, for most gardeners organic matter alone is more practical, cheaper, and ultimately more effective than grit. Grit is most useful in specific situations — around the collars of plants that dislike wet conditions (lavender, rosemary), in the bottom of planting holes for bulbs in heavy ground, or in raised bed growing media mixes.
Never Dig Clay Soil When It’s Wet
This sounds obvious but it’s the most commonly broken rule in clay soil management and the one that causes the most damage.
Walking on or digging clay soil when it’s wet compresses the structure severely — the pore spaces you’ve been working to create are crushed, and the soil becomes more compacted than before. On a clay lawn, this is why paths across the grass become muddy ruts from October onwards and take months to recover.
The rule is simple: only work on clay soil when it’s moist but not wet. The test is to squeeze a handful — if it crumbles when you open your hand, it’s fine to work. If it stays in a sticky ball or water squeezes out, leave it alone.
Use planks or scaffold boards to kneel and stand on when working in clay beds, to distribute your weight. Install stepping stones or a path through any area you cross regularly. These simple measures make a significant long-term difference to soil structure.
The No-Dig Method: Letting Worms Do the Work
No-dig gardening — where you apply compost and organic matter on the surface and never turn the soil — is particularly well-suited to clay. Here’s why: worms are the most effective clay-improvers in existence. They pull organic matter down from the surface, create channels through the soil as they move, and produce worm casts that are exceptionally fertile and well-structured. By not digging, you preserve the worm population and the fungal networks that bind soil aggregates together.
The no-dig approach, pioneered in the UK by growers like Charles Dowding, involves applying a thick (10–15cm) layer of well-rotted compost over the surface each autumn without incorporating it. By spring, worms have worked much of it into the upper layers and the surface is ready to plant into directly.
For very compacted clay, one initial deep dig (single digging to one spade’s depth, incorporating as much organic matter as possible) can help break up the worst compaction before switching to no-dig. After that initial effort, consistent surface composting and minimal disturbance produces better long-term results than repeated digging.
Raised Beds: The Shortcut to Productivity
If you want to grow vegetables or specific plants on clay soil without waiting three years for the soil to improve, raised beds are the practical shortcut. Fill them with a good-quality growing medium — a mix of topsoil and compost, or a purpose-made raised bed compost — and you’re gardening in ideal conditions immediately, regardless of what’s happening in the clay below.
Raised beds of 20–30cm height are sufficient for most vegetables and annual flowers. For permanent plantings like fruit bushes or perennial borders, deeper beds (30–45cm) give roots more room to develop before they hit the clay layer beneath.
The clay below the raised bed isn’t wasted — it holds moisture and nutrients that deep-rooting plants will eventually access. And over time, the organic matter from your raised bed will leach down and begin improving the clay beneath.
📖 Also read: How to Fix Waterlogged Soil in a UK Garden
Plants That Thrive in Clay
While you’re improving your clay soil, it makes sense to grow plants that actually suit it rather than fighting the conditions entirely. Many excellent garden plants genuinely prefer heavier soils and will struggle in thin, sandy ground.
Shrubs and trees: Roses are famous clay-lovers — they thrive in the moisture-retentive, fertile conditions. Viburnums, dogwoods (Cornus), and hawthorn all perform well in clay. Willows and alders positively demand moist, heavy ground.
Perennials: Astilbes, hostas, ligularias, and heleniums all thrive in clay. Rudbeckias, echinaceas, and monardas flower better in clay than in lighter soils. Hardy geraniums are almost indestructible in heavy ground.
Vegetables: Brassicas — cabbage, kale, broccoli, Brussels sprouts — grow very well in clay, which provides the firm anchorage and steady moisture they prefer. Broad beans, leeks, and courgettes are also reliable clay performers.
Planting into improved clay holes — dig a large hole, incorporate plenty of compost, and plant into that improved zone — gives plants the best possible start while the broader soil improvement continues.
The Long Game
Improving clay soil is not a weekend project. It’s a multi-year commitment that rewards patience and consistency. The gardeners with the most magnificent clay-soil gardens in Britain — the deep-bordered cottage gardens of Shropshire and Worcestershire, the productive allotments of the East Midlands — got there through years of composting, mulching, and working with rather than against their soil.
The practical starting point is simply this: get a compost heap going if you don’t have one, buy a dumpy bag of well-rotted manure this autumn, spread it generously over every bed, and repeat next year. By year three you will not recognise your soil.
Leave a Reply