An uneven garden is one of the most common challenges UK homeowners face, and one of the least talked about honestly. Whether you’ve inherited a lawn with the texture of a ploughed field, a backyard that slopes so steeply it’s essentially unusable, or a patio that’s slowly tilting toward the back of the house, the problem feels bigger than it usually is. Most uneven gardens in the UK can be significantly improved — or completely transformed — without heavy machinery, a team of landscapers, or a budget that requires a second mortgage. This guide covers the full range of solutions, from a simple weekend lawn-levelling job to full terracing, so you can choose the approach that fits your garden, your skills, and your bank account.
The first step, before doing anything, is to identify exactly what kind of unevenness you’re dealing with — because a bumpy lawn, a sloped garden, and a garden with drainage problems that cause soft spots all need different solutions.
📖 Also read: How to Plan Your Garden
Diagnosing Your Uneven Garden — Bumps, Slopes, and Soft Spots
A bumpy lawn with small undulations and lumpy patches is usually a soil settlement issue — often caused by buried debris, tree roots, mole activity, or simply the natural movement of soil over time. It’s the most common form of uneven garden in UK housing, particularly in older properties, and it’s the easiest to fix without major intervention.
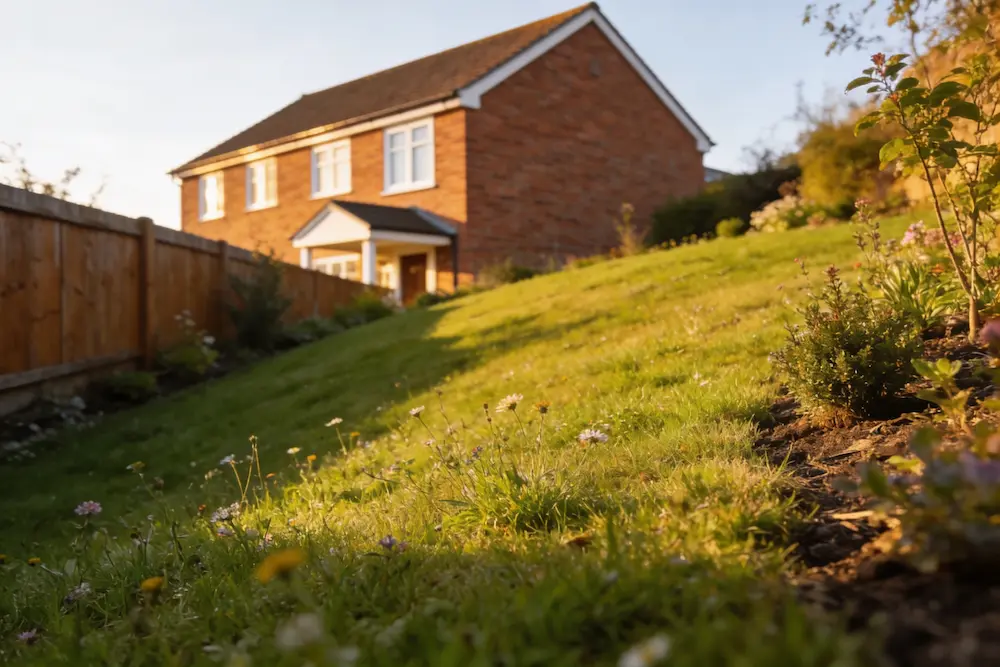
A sloped garden is a different challenge. A gentle slope of 1:20 or less (5cm of fall per metre) is barely noticeable and rarely causes problems. A steeper slope — the kind where a ball rolled onto the lawn disappears over the fence — requires a more considered approach: either working with the gradient using planting and paths, or reshaping it through terracing. Both are viable; the right choice depends on your budget and how you want to use the space.
Soft, spongy patches — areas that feel unstable underfoot, particularly after rain — usually indicate a drainage problem rather than a levelling problem. Fixing the surface without addressing the drainage beneath will produce a level garden that becomes waterlogged and boggy every winter. Always diagnose drainage separately before levelling, and address it first.
How to Level a Bumpy Lawn — The DIY Method
For a lawn with minor undulations and small bumpy patches, top-dressing is the most practical and least disruptive solution. This involves applying a thin layer of a sandy loam or purpose-made lawn top-dressing mixture across the surface, working it into the low points and hollows, and allowing the grass to grow through it over the following weeks. Done repeatedly over two or three seasons, top-dressing can transform a very uneven lawn into something acceptably flat without removing turf, hiring equipment, or killing the grass.
The method is simple: mow the lawn short, then spread 1–2cm of top-dressing mix (available from most garden centres as lawn dressing, or mixed at home from three parts sharp sand, six parts topsoil, and one part compost) across the bumpy areas. Work it in with the back of a rake and a stiff broom, ensuring it fills the hollows without completely smothering the grass. Water well. The grass grows through within two to four weeks. Repeat as needed in spring and autumn until the surface levels out.
For larger humps and hollows — significant undulations of 5cm or more — a different approach is needed. Cut an H-shape through the turf over the raised area using a spade, peel back the flaps, remove or add soil to correct the level, then fold the turf back down and firm it. Water generously and keep off the area for a few weeks. This method works very well for isolated bumps and dips but requires more effort per patch.
📖 Also read: How to Fix Waterlogged Soil
Levelling a Sloped Garden — Working With the Gradient
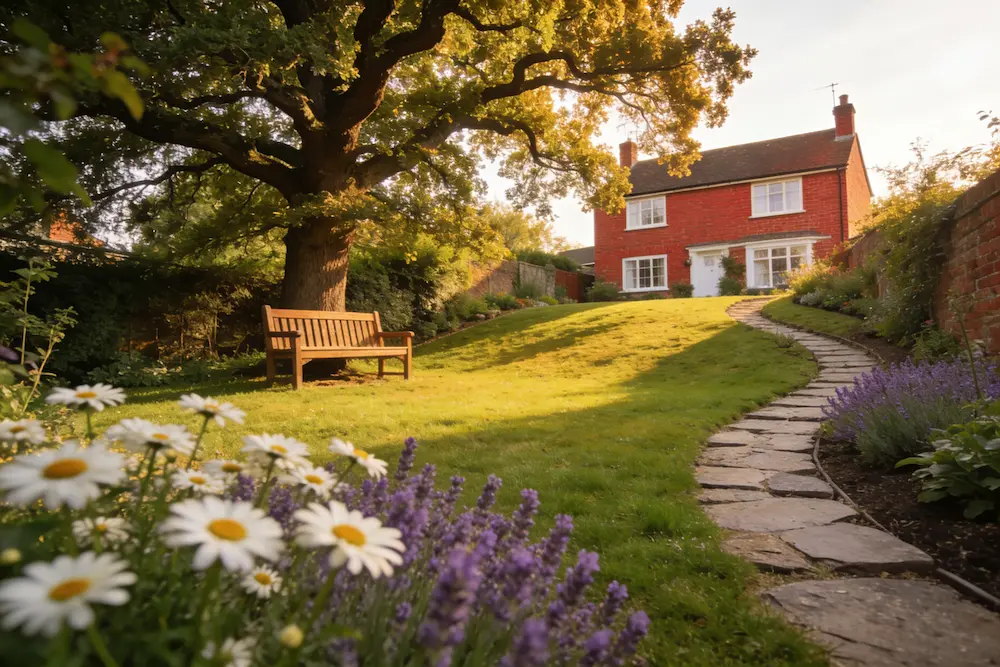
Not every sloped garden needs to be terraced. In many cases, the most cost-effective and visually attractive solution is to embrace the slope and design around it rather than fight it. A gently sloping lawn with well-designed planting on either side, a path that follows the natural contour rather than fighting it, and raised beds positioned across the slope rather than parallel to it can feel entirely deliberate and attractive — far better than a badly executed attempt at levelling.
Planting sloping banks with groundcover plants is one of the most practical approaches for steep sections that would be difficult to terrace on a limited budget. Low-growing plants like cotoneaster, heathers, ivy, and ornamental grasses stabilise the soil, suppress weeds, and look intentional. A naturalistic wildflower bank, left unmown through summer, is another excellent option — genuinely wildlife-friendly, practically maintenance-free once established, and far more interesting than a steeply sloping lawn that’s awkward to mow and prone to drying out.
📖 Also read: How to Deal with Windy Gardens — Plants, Windbreaks, and Pots That Won’t Blow Over
Terracing a Sloped Garden — When It’s Worth the Investment
Terracing creates level platforms cut into a slope, retained by walls or edging, and connected by steps. It’s the most significant transformation available for a steeply sloped garden and, done well, turns a near-unusable space into a series of distinct, usable outdoor rooms. It’s also the most expensive and labour-intensive option — and the one most likely to require professional help, depending on scale and the materials involved.
For a modest slope with a single terrace, a confident DIYer with a hired mini-digger, a weekend, and a budget of £500–£1,500 can achieve excellent results using railway sleepers or concrete block walls as retaining structures. Railway sleepers are particularly popular in UK gardens — they’re robust, relatively affordable, easy to work with, and look excellent in both informal and contemporary settings. Stack them horizontally, secured with wooden or steel stakes driven into the ground behind, and they’ll hold a bank of soil reliably for twenty years or more.
For steeper or more extensive terracing, particularly anything involving significant soil movement or retaining walls taller than 60cm, a landscaping professional is the safer and ultimately better-value choice. Poorly constructed retaining walls fail — they bow outward under soil pressure, causing expensive damage and potentially dangerous instability. The cost of getting it right first time is almost always less than the cost of remedying a failure.
Raised Beds as a Levelling Solution
For gardeners primarily interested in growing rather than formal lawn or patio space, raised beds on a slope are often the most practical and satisfying solution of all. Rather than levelling the ground beneath them, raised beds can be built to compensate for a slope — each bed individually levelled regardless of the gradient below — turning an awkward slope into a productive, tiered kitchen garden.

Timber-framed raised beds on a slope are a weekend project with modest materials cost and no specialist skills required. Build the downhill side of each bed higher than the uphill side to compensate for the gradient, fill with quality topsoil and compost, and you have growing conditions that are completely independent of whatever the underlying ground is doing. This approach works particularly well in urban back gardens where the slope has made conventional growing difficult or impossible.
📖 Also read: How to Build a Raised Bed Garden from Scratch
Paths and Steps — Making a Sloped Garden Usable
Whatever approach you take to the main garden level, well-designed paths and steps transform a sloped garden’s usability. A path that descends a slope in a gentle zigzag — following the natural contour rather than plunging straight down — is much easier to navigate and far less prone to erosion than a straight path descending directly. Gravel or bark chip paths on slopes need edging to contain the material; hard surfaces like stone flags or pavers need a slight cross-fall to shed water rather than channelling it straight downhill.
Steps should have a rise (the vertical height) of no more than 15cm and a tread (the horizontal depth) of at least 40–45cm for comfortable use. Low, broad steps always feel more welcoming and garden-like than steep, narrow ones. Informal log-edged steps filled with gravel or bark are an inexpensive and attractive option for a naturalistic garden; stone or concrete sett steps suit a more formal or contemporary setting. Whatever material you choose, anchor them securely — steps that shift or rock underfoot are both irritating and hazardous.
Drainage — Always Sort This Before Levelling
This point bears repeating: if your uneven garden has soft spots, standing water after rain, or areas that stay wet through winter, address drainage before levelling. Levelling over a drainage problem buries it rather than solving it, and you’ll be back to square one — or worse — within a season or two.
For mild compaction and poor surface drainage, hollow-tine aeration (available as a rental machine or a manual tool) followed by brushing sharp sand into the holes is often enough to restore drainage significantly. For more serious waterlogging, a French drain — a gravel-filled trench running to a soakaway or garden edge — redirects water away from problem areas. Getting drainage right before levelling is the difference between a garden improvement that lasts and one that slowly reverts to its previous state.
📖 Also read: Garden Paths — DIY Ideas for UK Gardens
Leave a Reply